Deck Building in Steps

What is Deck and Fence ?
April 26, 2023
How to Build a Fence in 8 Steps
April 26, 20231) CREATE YOUR DECK
Plan everything.
To avoid costly blunders, do a lot of study before you start. In your deck plans, consider the position, scale, and purpose. It’s crucial to design an accessible area that complements your outdoor lifestyle and landscape.
Pay great attention to the construction materials and decorative touches. You have a choice between traditional pressure-treated lumber and weather-resistant wood composite! There are a tonne of gorgeous deck layouts, designs, and concepts to experiment with.
2) LAYOUT FOR BUILDING YOUR DECK
Simple Questions to Address
Your foundation, beams, joists, and decking will all be the same whether your structure is freestanding or attached. Make sure your deck has adequate support, such as posts or a ledger board. Lay out your strategy using string, screws, and batter boards constructed from furring strips. Your best tools for precision and accuracy will be your level and measuring tape.
Set your foundation spacing, then add your posts while using additional strings to align them. Plumb bobs can be used to indicate the location where you should place your stakes.
3) STAGE YOUR POST & PLACE YOUR
BEAMS Strong Foundations Rule!
Before digging below the frost line, confirm with your building department whether an inspection is necessary.
Create post hole openings in landscape fabric by rolling it out. Add your posts and then fill the remaining space in the hole with gravel after lowering the concrete mix to the level required by building codes. To ensure that every post is precisely aligned and centred, use your post level and layout strings. Overspread the remainder of your landscape fabric with gravel, and give your footings a few days to settle.The top of your beam should match up with the mark you made on your posts. After attaching cleats to each of your posts, position your beam over them and fasten it in place. Cut the last block of wood off each of your posts while donning a mask.Our Foundation is ready !
4) SET UP THE FRAMING AND ADD YOUR DECKING
Rim joists should be used to construct the deck’s framework first. To create your floor joists, place wood beams at regular intervals. Use hurricane ties, joist hangers, and corner brackets to strengthen your joists.
After the frame is constructed, place your boards on it and drill two nails along each plank for each joist. To ensure adequate room for appropriate drainage, insert a nail between each decking board. Another choice that conceals obvious nails or screws is using boards with grooves. Use your measuring tape to make sure you’re still following your deck plans every few boards. To trim extra wood from the frame’s edges, use thread as a guide.
5) HOW TO BUILD DECK STAIRS
Rise Up!
Now that we have the most basic decking, we will need a staircase.
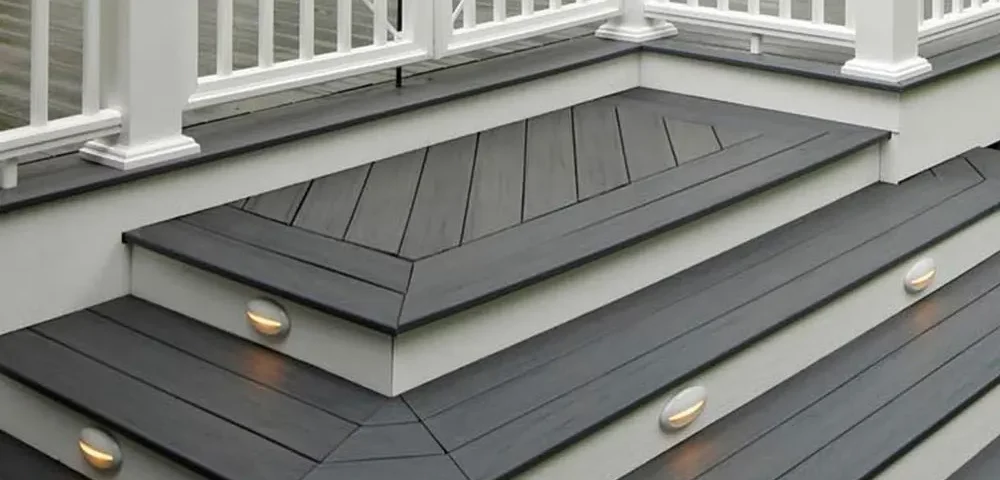
Mark the spot on the joist where your stairs will meet the deck once you have all the necessary components. As required, use support brackets and bolts to secure your stringers. Your stairs are finished once you’ve added the treads. We’ve increased our efforts, and now we’re prepared to complete it.
6) COMPLETE YOUR DECK
Nearing beer hours.
Stylish bespoke railings and balusters that match your deck will upgrade your appearance! These details will help your deck look more polished.
Finish the look by adding fascia, post caps, or lattice skirting. Moreover, lighting is necessary for visibility and will enhance the appeal of your backyard. Request one final building inspection for safety’s sake, and then get in touch with your neighbourhood recycling centre to dispose of your treated lumber.
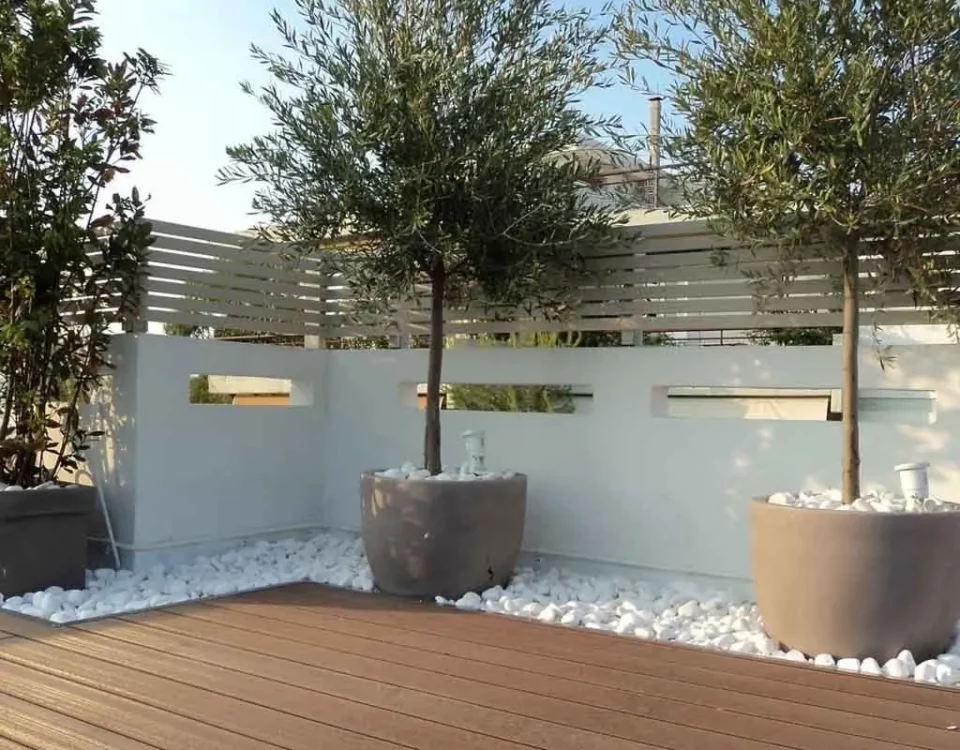
Decorate it with contemporary furniture, potted plants, or any other outdoor decor ideas that appeal to you!


